


The recent wine trip to Piemonte, organised by Lucia Hannau of www.turinepi.com as part of Turin Epicurean Capital 2019, was a simply stunning trip, not only for the personal reasons discussed in my previous post, but also because Lucia had ensured that we saw an excellent cross section of the wineries one can visit in the Langhe.
Not to pre-empt future posts but we visited a small family run business (that stole my heart, but more of that in future) and two larger businesses that at first glance might seem similar but in reality were very different. Here I want to talk about Fontanafredda, possibly one of the most beautiful places I have ever visited. I do want to say upfront, however, that I am not a wine expert so this post is more about the place itself than the wine. I have friends with much more sophisticated palates than mine and I wish one of them, (yes Jim Dunlop, I’m looking at you) would write about their specialist knowledge of the wines of Piemonte. I’d just like to mention too, that is not a sponsored post; I’ve written this for love, not for money.
Despite its large size, Fontanafredda is a winery perfectly in symbiosis with its landscape and whilst obviously the viticulture has shaped the landscape, the built environment is equally sympathetic without seemingly losing functionality. The buildings themselves are girded about in the ochre and dark pink colours frequently seen in the area; this did lead to the slightly inelegant name of “the Battenburg Cake Estate” being applied to it, but somehow it works.
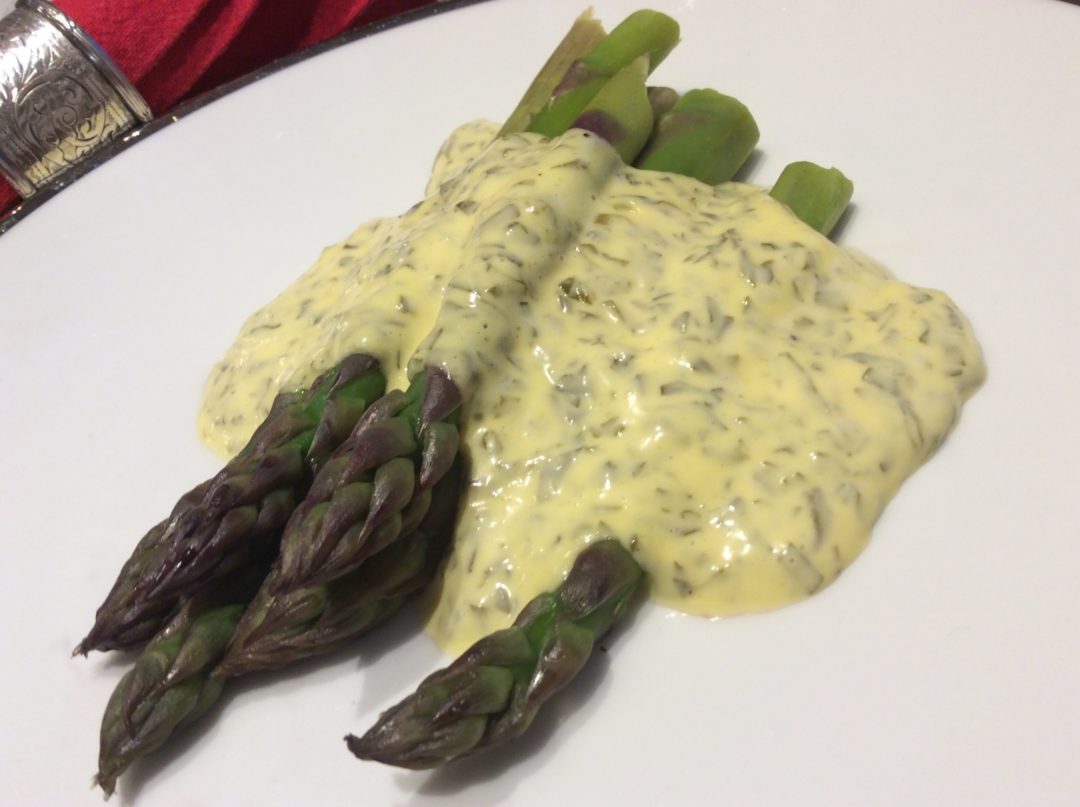
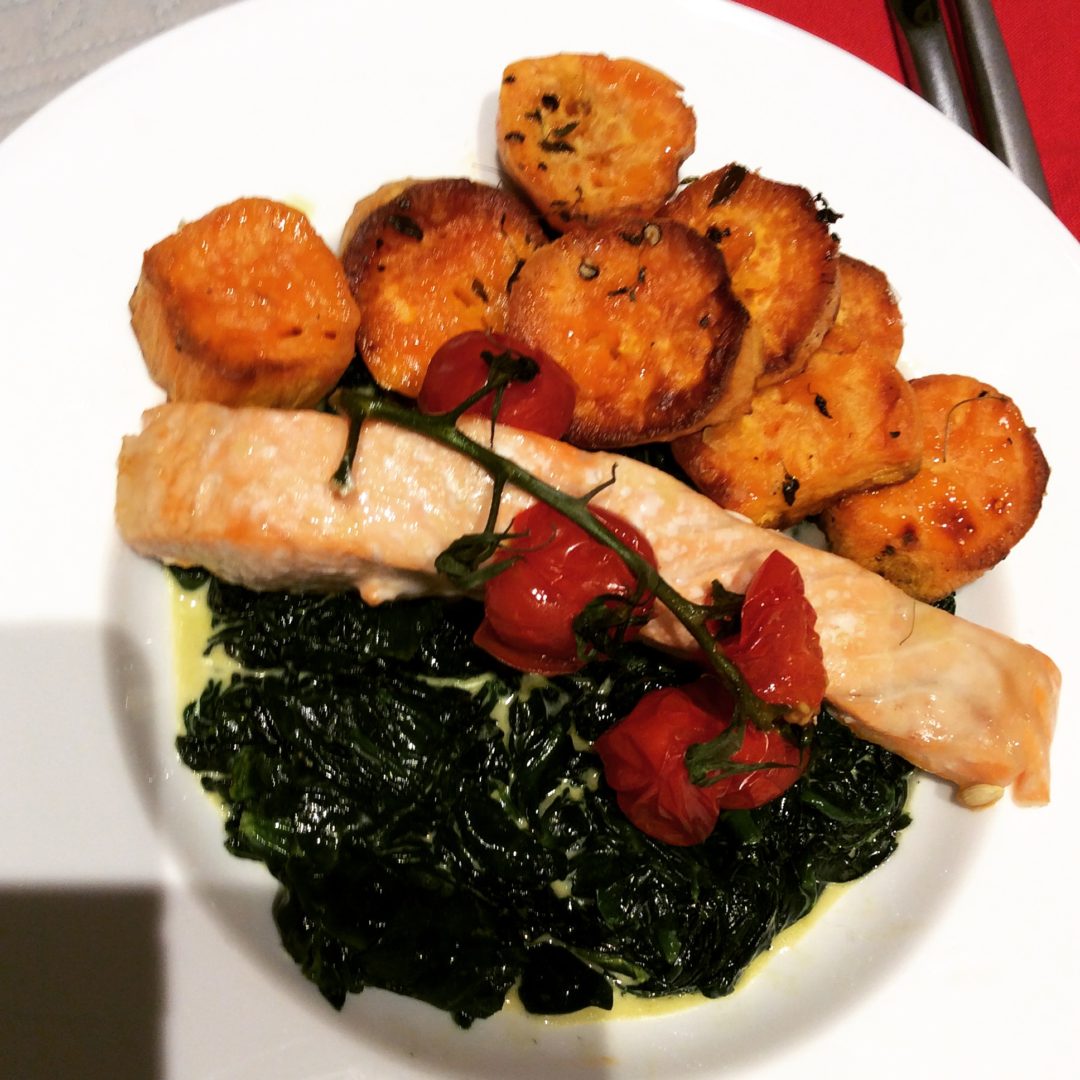
It is a successful and thriving business producing wines typical of this part of Piemonte, there are two elegant and comfortable hotels, two restaurants (one that really needs a blog post all of its own) and acres of woodland walks and of course, spectacular views of the Unesco Langhe landscape. Visitors are well catered for and I thought the tasting session intelligent and informative, which I have not always found to be so elsewhere.
I say Fontanafredda is a successful business but that has not always been the case and the history of this charming place is well worth looking at at. The first noteworthy event was as a gift in 1858 by King Vittorio Emanuele II of Italy to his principal mistress, Rosa Vercellana known in Piedmontese as Bela Rosin. In addition acquiring to the ravishing hunting lodge and land, Rosa, born a commoner, became Countess of Mirafiori and Fontanafredda. After the death of the King’s wife in 1855 (she bore him eight children during the thirteen years they were married), in 1869, he then morganatically married Rosa with whom he already had two children. You will note the use of the phrase “principal mistress”; in common with much of male royalty and aristocracy, he was a man of vigorous appetites and had at least five others, one of whom he is said to have shared with both Cavour and Napoleon III.

The stunning hunting lodge which was the gift to Bela Rosin at Fontanafredda
The King’s father, Carlo Alberto, was already a wine producer on his royal estates at Verduno and Pollenzo, so it was perhaps unsurprising that Vittoria Emanuele believed that Fontanafredda would provide a secure business for his and Rosa’s children.
The archives at Fontanafredda are fascinating and although I was not able to study through them (much as I would have liked to), there are many interesting pages from ledgers are on display. From these it is clear to see that Barolo began production from 1865, along with evidence of the building of new cellars and buildings, not to mention planting of new vines. Fortunately – or perhaps inevitably – Rosa’s son, Emanuele Mirafiori – was a talented winemaker and under his leadership, Barolo became available to the open market and not just the royal family and their elite European friends. He seems to have been a natural marketeer and in 1887, he opened his cellars to the public and began entering his wines in competitions, with some success.
The year 1894 saw the start of a series of misfortunes which led to long decline of the Fontanafredda estate and its Mirafiori brand: Emanule Mirafiori died that year, at the young age of 43, from a liver disease and his eldest son and heir to the estate died after a fall from a horse. Emanuele’s second son, Gastone, did however, prove his mettle, and until the first World War, the estate prospered with employees being treated remarkably well in terms of housing, social care and pensions. In the UK, we are accustomed to this model at that time, being familiar with Lever Brothers’ Port Sunlight village and Cadbury’s Bournville. This level of care for so many employees was not, however, at all normal in Italy.
The loss of male workers to World War I, together with outbreaks of the devastating disease, phylloxera, plus disastrous hailstorms began to see detrimental changes at Fontanafredda. The estate changed hands several times, the brand was sold to Gancia and eventually, in common with thousands of other businesses at the time, Fontanafredda went into bankruptcy in 1930.
An existing creditor of Fontanfredda, the Siena-based Banca Monte dei Paschi took over the estate in 1932 and despite the privations visited upon Italy in World War II, the estate gradually began to recover.
In the 1960s and 70s, the new attention paid to quality began to pay off; Fontanafredda began to age their Barolo for longer than required and also began to source top quality grapes from other vineyards in Piemonte. Some of these same vineyards began in the 1980s to turn their attentions to winemaking their own grapes and boutique wineries began to steadily erode the estate’s market share and thus their profitability.
Once again, Fontanafredda was brought back from the precipice, first by the appointment in 1996 of Giovanni Minetti to oversee the revamp of the vineyards and winemaking process and start them on the path to a winery of quality, rather than a supermarket supplier. Ten years later, a second occurence aided their recovery: Monte dei Paschi decided that owning a winery was not a strategic part of their business and sold the estate to a consortium of investors, amongst whom was Oscar Farrinetti.
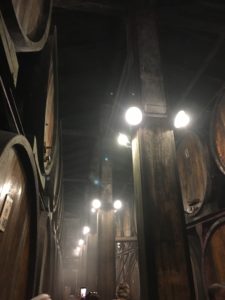
The slightly mysterious cellars of Fontanafredda, with their natural temperature control. Winemaking to me, like cooking, is alchemy, so this image captures the inscrutable fascination of the process
Now, if you have been to Italy or, if you are in parts of the USA, you will know Eataly, a high end “supermarket” that sells good quality Italian foods and you can eat well there too! I know some Italians are a bit sniffy about it and in truth, I have learned in there to read labels attentively, but and it’s a big but, they are undeniably successful. Although I live mostly in Italy now, I was delighted to recently learn that AT LAST Eataly are coming to London (just in time for Brexit…).
So whether you like the chain or not, Signor Farrinetti knows how to run a successful business and I for one am delighted to see Fontanafredda in safe, creative and ethical hands.
So this has been a post more about history than food – or wine – but the more I learn about the history of what we eat and drink, the more fascinating and inspiring stories I discover. I warmed to Fontanafredda because quite simply, it is a stunningly beautiful and enchanting place. Once I knew its history and learned of its commitment to chemical free cultivation (a cause close to my own heart), the more I loved it. I will go back and I urge you to try to see it, if you are visiting northern Italy. If you’re not, then try to hunt down their wines. If you would like to learn more about them, do visit their website www.fontanafredda.it and the excellent Kerin O’Keefe has written extensively about the estate and its wines in her “Barolo and Barbaresco, The King and Queen of Italian Wine” and which I heartily recommend. And of course, if you are going to Turin, contact Lucia at www.turinepi.com and she will ensure you see the very best the city has to offer.
I hope to visit fairy tale Fontanafredda again this autumn and in the meantime I will remember my summer visit whilst enjoying a glass of their finest.